

Quick Start
React Quick Start
Compatibility Notice: The filestack-react v7 requires React versions 18.3+ or 19 and Node 18+.
1 Install the Library
Get started by adding the Filestack React library to your project. Note that filestack-js is a peer dependency as of v7.
npm install filestack-react filestack-js2 Use the Picker Component
Import and use the `PickerOverlay` component in your app. Replace `YOUR_API_KEY` with your actual key.
import React from 'react';
import { PickerOverlay } from 'filestack-react';

import {
PickerOverlay,
FilestackProvider,
type PickerOverlayProps,
type PickerResponse,
type PickerOptions,
type ClientOptions
} from 'filestack-react';
const pickerOptions: PickerOptions = { maxFiles: 5, accept: ['image/*'] };
const clientOptions: ClientOptions = { cname: 'cdn.example.com' };
const handleUploadDone = (res: PickerResponse) => {
res.filesUploaded.forEach((file) => console.log(file.url));
};
const App = () => (
<FilestackProvider apikey={process.env.REACT_APP_FILESTACK_KEY!}>
<PickerOverlay
pickerOptions={pickerOptions}
clientOptions={clientOptions}
onUploadDone={handleUploadDone}
onError={(err) => console.error(err)}
/>
</FilestackProvider>
);
3 Run Your Server
Start your development server to see the Filestack picker in action.
npm startAngular Quick Start
Compatibility Notice: The
@filestack/angularv4 supports Angular 19 through 22. For Angular 18, use@filesatck/angularv3.x. The SDK declares no Node requirement of its own – your Node floor comes from your Angular major.
1 Install via NPM
The code below installs @filestack/angular and filestack-js, prompts for your API key, and writes the provider into your root configuration.
ng add @filestack/angularTo install manually, use the code below instead:
npm install @filestack/angular filestack-js@^4
Name the major explicitly. The latest tag on npm still points at the 3.x client, and the v4 client methods require 4.x.
2 Register the Provider
Add provideFilestack() to your ApplicationConfig.
// app.config.tsimport { ApplicationConfig } from '@angular/core'; import { provideFilestack } from '@filestack/angular'; export const appConfig: ApplicationConfig = { providers: [ providerFilestack ({ apikey: 'YOUR_APIKEY', options: { /* Add client config options here */ }, }), ], };
options takes the same ClientOptions as before, and is where a CNAME or a security policy goes.
Using NgModules? FilestackModule.forRoot() still works and accepts the same configuration object. It is deprecated in favor of provideFilestack() and will be removed in a future major release.
3 Add the Picker to a component
The picker components and the transform pipe are standalone. Import the one you use directly.
// app.componen.ts
import { Component } from '@angular/core';
import { PickerOverlayComponent } from '@filestack/angular';

@Component({
  selector: 'app-root',
  imports: [PickerOverlayComponent],
  templateUrl: './app.component.html',
})
export class AppComponent {
  onUploadSuccess(res: any) {
    console.log(res.filesUploaded);
  }

  onUploadError(err: any) {
    console.error(err);
  }
 }

<!-- app.component.html -->
<ng-picker-overlay
  (uploadSuccess)="onUploadSuccess($event)"
  (uploadError)="onUploadError($event)">
  <button>Upload a file</button>
</ng-picker-overlay>
No apikey input is needed – the provider already supplied it. Pass one anyway when a specific picker needs a different key or different picker options, and it wins for that instance.
The picker components are available: <ng-picker-overlay>, <ng-picker-inline>, and <ng-picker-drop-pane>.
4 Run your Server
ng serverYour app runs at http://localhost:4200
Python Quick Start
1 Installation
Install the Filestack Python SDK using pip.
pip install filestack-python2 Upload a File
Use the `Client` class to upload a file.
from filestack import Client

client = Client('<YOUR_API_KEY>')
new_filelink = client.upload(filepath='path/to/file')
print(new_filelink.url)
3 Work with Filelinks
You can perform various operations on a `Filelink` object.
# Get content
file_content = new_filelink.get_content()

# Download
size_in_bytes = new_filelink.download('/path/to/save/file')

# Overwrite
filelink.overwrite(filepath='/path/to/new/file')

# Transform
filelink.resize(width=400).flip()

# Delete
filelink.delete()
Java Quick Start
1 Installation
Add the dependency to your build configuration (e.g., build.gradle).
implementation 'org.filestack:filestack-java:1.0.1'2 Upload a File
Create a client and use it to upload a file synchronously or asynchronously.
// Create a client
Config config = new Config("API_KEY");
Client client = new Client(config);

// Perform a synchronous, blocking upload
FileLink file = client.upload("/path/to/file", false);

// Perform an asynchronous, non-blocking upload
Flowable<Progress<FileLink>> upload = client.uploadAsync("/path/to/file", false);

upload.doOnNext(new Consumer<Progress<FileLink>>() {
  @Override
  public void accept(Progress<FileLink> progress) throws Exception {
    System.out.printf("%f%% uploaded\\n", progress.getPercent());
    if (progress.getData() != null) {
      FileLink file = progress.getData();
    }
  }
});
JavaScript CDN Quick Start
1 Add to HTML
Include the Filestack script, add a button, and initialize the picker.
<!DOCTYPE html>
<html>
<head>
  <title>Filestack Demo</title>
  <script src="//static.filestackapi.com/filestack-js/4.x.x/filestack.min.js"></script>
</head>
<body>
  <button id="picker">Upload File</button>

  <script>
    const client = filestack.init('YOUR_API_KEY');
    const options = {
      onUploadDone: (res) => console.log(res),
    };
    const picker = client.picker(options);

    const pickerBtn = document.getElementById('picker');
    pickerBtn.addEventListener('click', () => picker.open());
  </script>
</body>
</html>
2 Run the Project
Simply open the `index.html` file directly in your web browser to see it in action.
JavaScript SDK Quick Start
1 Installation
npm install filestack-js2 Usage (ES Module)
import * as filestack from 'filestack-js';
const client = filestack.init('YOUR_API_KEY');
PHP Quick Start
1 Install with Composer
composer require --prefer-dist filestack/filestack-php2 Upload a File
Instantiate the `FilestackClient` and call the upload method.
use Filestack\\FilestackClient;

$client = new FilestackClient('YOUR_API_KEY');
$filelink = $client->upload('/path/to/file');
3 Manipulate Files
Create a `Filelink` object to transform, download, or delete files.
use Filestack\\Filelink;

$filelink = new Filelink('YOUR_FILE_HANDLE', 'YOUR_API_KEY');

// Transform and save
$transformed_filelink = $filelink
            ->circle()
            ->blur(['amount' => '20'])
            ->save();

// Download
$filelink->download('/path/to/save/file.jpg');

// Delete
$filelink->delete();
REST API Quick Start
1 Installing Dependencies
When using REST APIs, an SDK is not necessary, but security may be required for certain API requests. Provide the security credentials to get started as follows.
curl -X POST \\
      -u "app:Secret KEY" \\
      -d "url=SOME_URL" "https://www.filestackapi/api/file/hGdfDXDSSNyVhVa0UeiB"
2 Set the API Key
For security, it is recommended to store the API key as an environment variable.
setx FILESTACK_API_KEY_"YOUR_API_KEY";
3 Upload a File
Upload a file using curl.
Request:
curl -X GET "https://www.filestackapi.com/api/file/DCL5K46FS3OIxb5iuKby/metadata"Response:
{
"mimetype": "image/png",
"uploaded": "1431950945811.783,
"container": "fp-documentation-assets",
"writeable": true,
"filename": "dtKZNd1J.png",
"location": "S3",
"key": "kWg7nloGTWmHFi5nlbF9_dtKZNd1J.png",
"path": "kWg7nloGTWmHFi5nlbF9_dtKZNd1J.png",
"size": 270
}
Filestack uses URL-based transformations; you can apply any basic transformation format.
https://cdn.filestackcontent.com/<TRANSFORMATIONS>/<HANDLE>
5 Run the Project
Paste the URL into your browser to see the result.
Developer Portal
If you haven’t already signed up for a Filestack account, you can do it here: Filestack Sign Up.
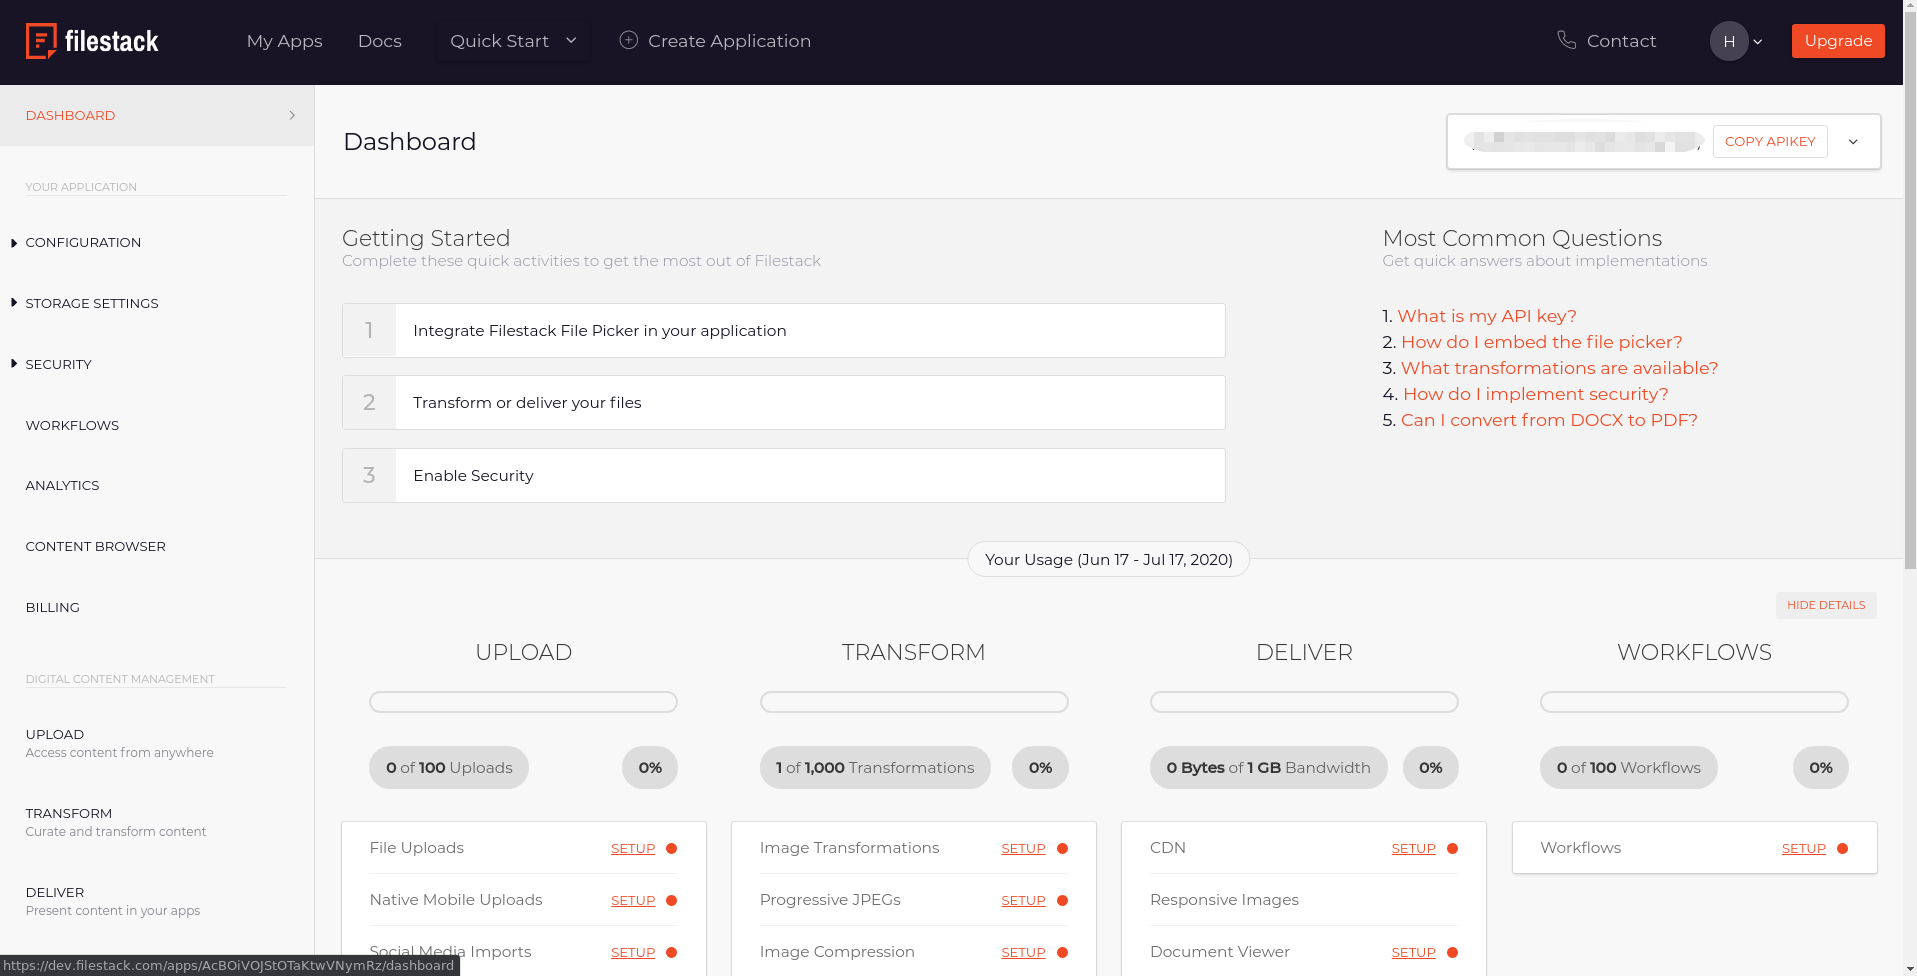
The Developer Portal is where you can set up application configurations, such as enabling security, storage backends, storage aliases, and OAuth clients if you use our cloud integrations. You can also view analytics and search through all of your application’s uploaded files in the Assets section.
Application and API key
Once you have an account, you can begin creating applications. Each application is given a public API key and a secret key, which are used throughout Filestack to authenticate and authorize operations on your resources.
Having an API key gives you access to upload and transform files using Filestack. In addition, each application has configuration settings that apply only to it, so you can create multiple applications for varying use cases.